Screen printing is a versatile and widely-used printing technique that has been a staple in the world of graphic design, apparel decoration, and industrial manufacturing. Whether you're a beginner looking to dive into this craft or a seasoned professional seeking a refresher, understanding the step-by-step process of screen printing is essential. In this blog post, we'll break down the entire workflow, from preparation to final product.
1. Pre-Production Preparation
Before diving into the actual printing process, thorough preparation is key to ensuring a smooth workflow and high-quality results.
Design Creation
The first step in screen printing is designing the artwork. This involves creating high-resolution graphics using design software like Adobe Photoshop or Illustrator. The design should be clean, with clear separations for each color layer, as screen printing typically involves printing one color at a time.
Material Gathering
Once the design is ready, it's time to gather all the necessary materials:
- Screen Mesh:
Commonly made from nylon or polyester, the mesh is stretched over a frame. The mesh count (number of threads per inch) will vary depending on the level of detail required.
- Emulsion:
This light-sensitive liquid is used to create the stencil on the screen.
- Squeegee:
A rigid blade, usually made of rubber, used to push ink through the screen.
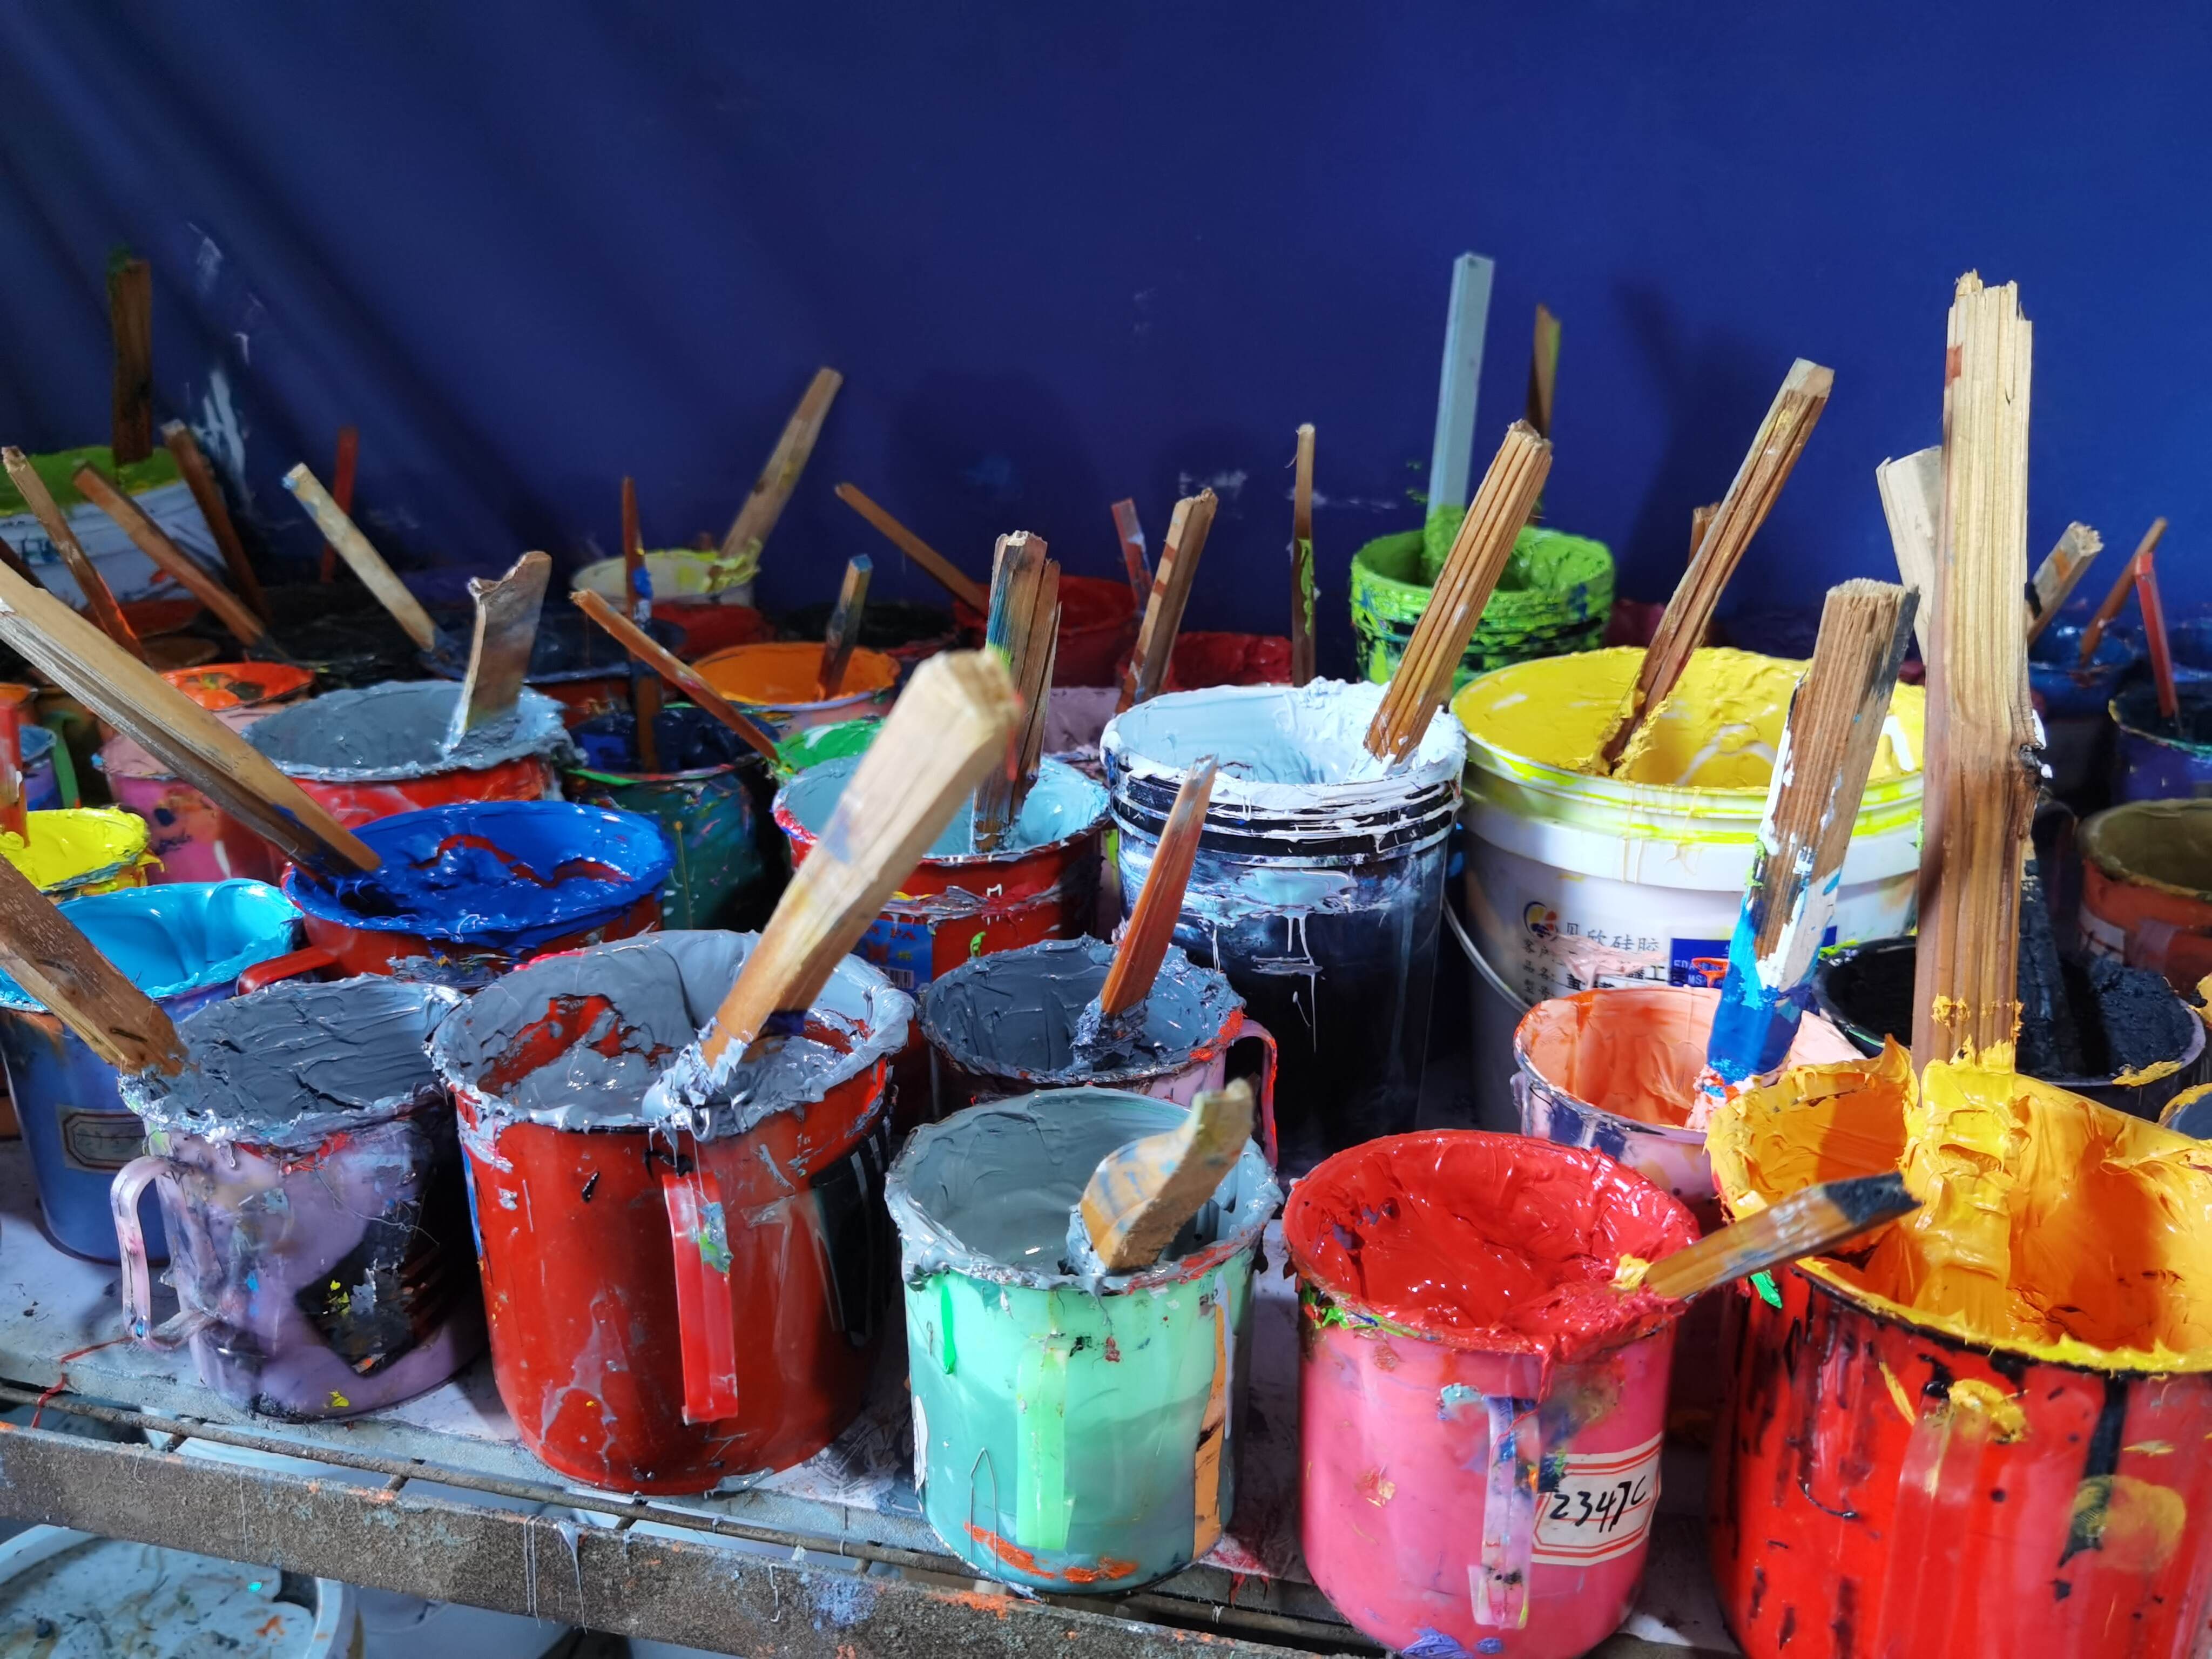
- Ink:
Choose the appropriate ink type based on the material you're printing on (e.g., plastisol for textiles, UV-curable ink for plastics).
- Printing Surface:
This could be a flatbed for manual printing or a rotary machine for industrial applications.
- Substrate:
The material you'll be printing on, such as paper, fabric, or plastic.
2. Screen Making
The screen is the heart of the screen printing process. It's where the design is transferred and prepared for printing.
Screen Cleaning
Start by thoroughly cleaning the screen mesh with water and a mild detergent. This step removes any dust or residue, ensuring a clean surface for the emulsion to adhere to.
Coating the Screen
Next, apply a layer of emulsion to both sides of the screen using a coating trough. The emulsion will harden when exposed to light, creating a stencil. Allow the screen to dry in a dark, dust-free environment.
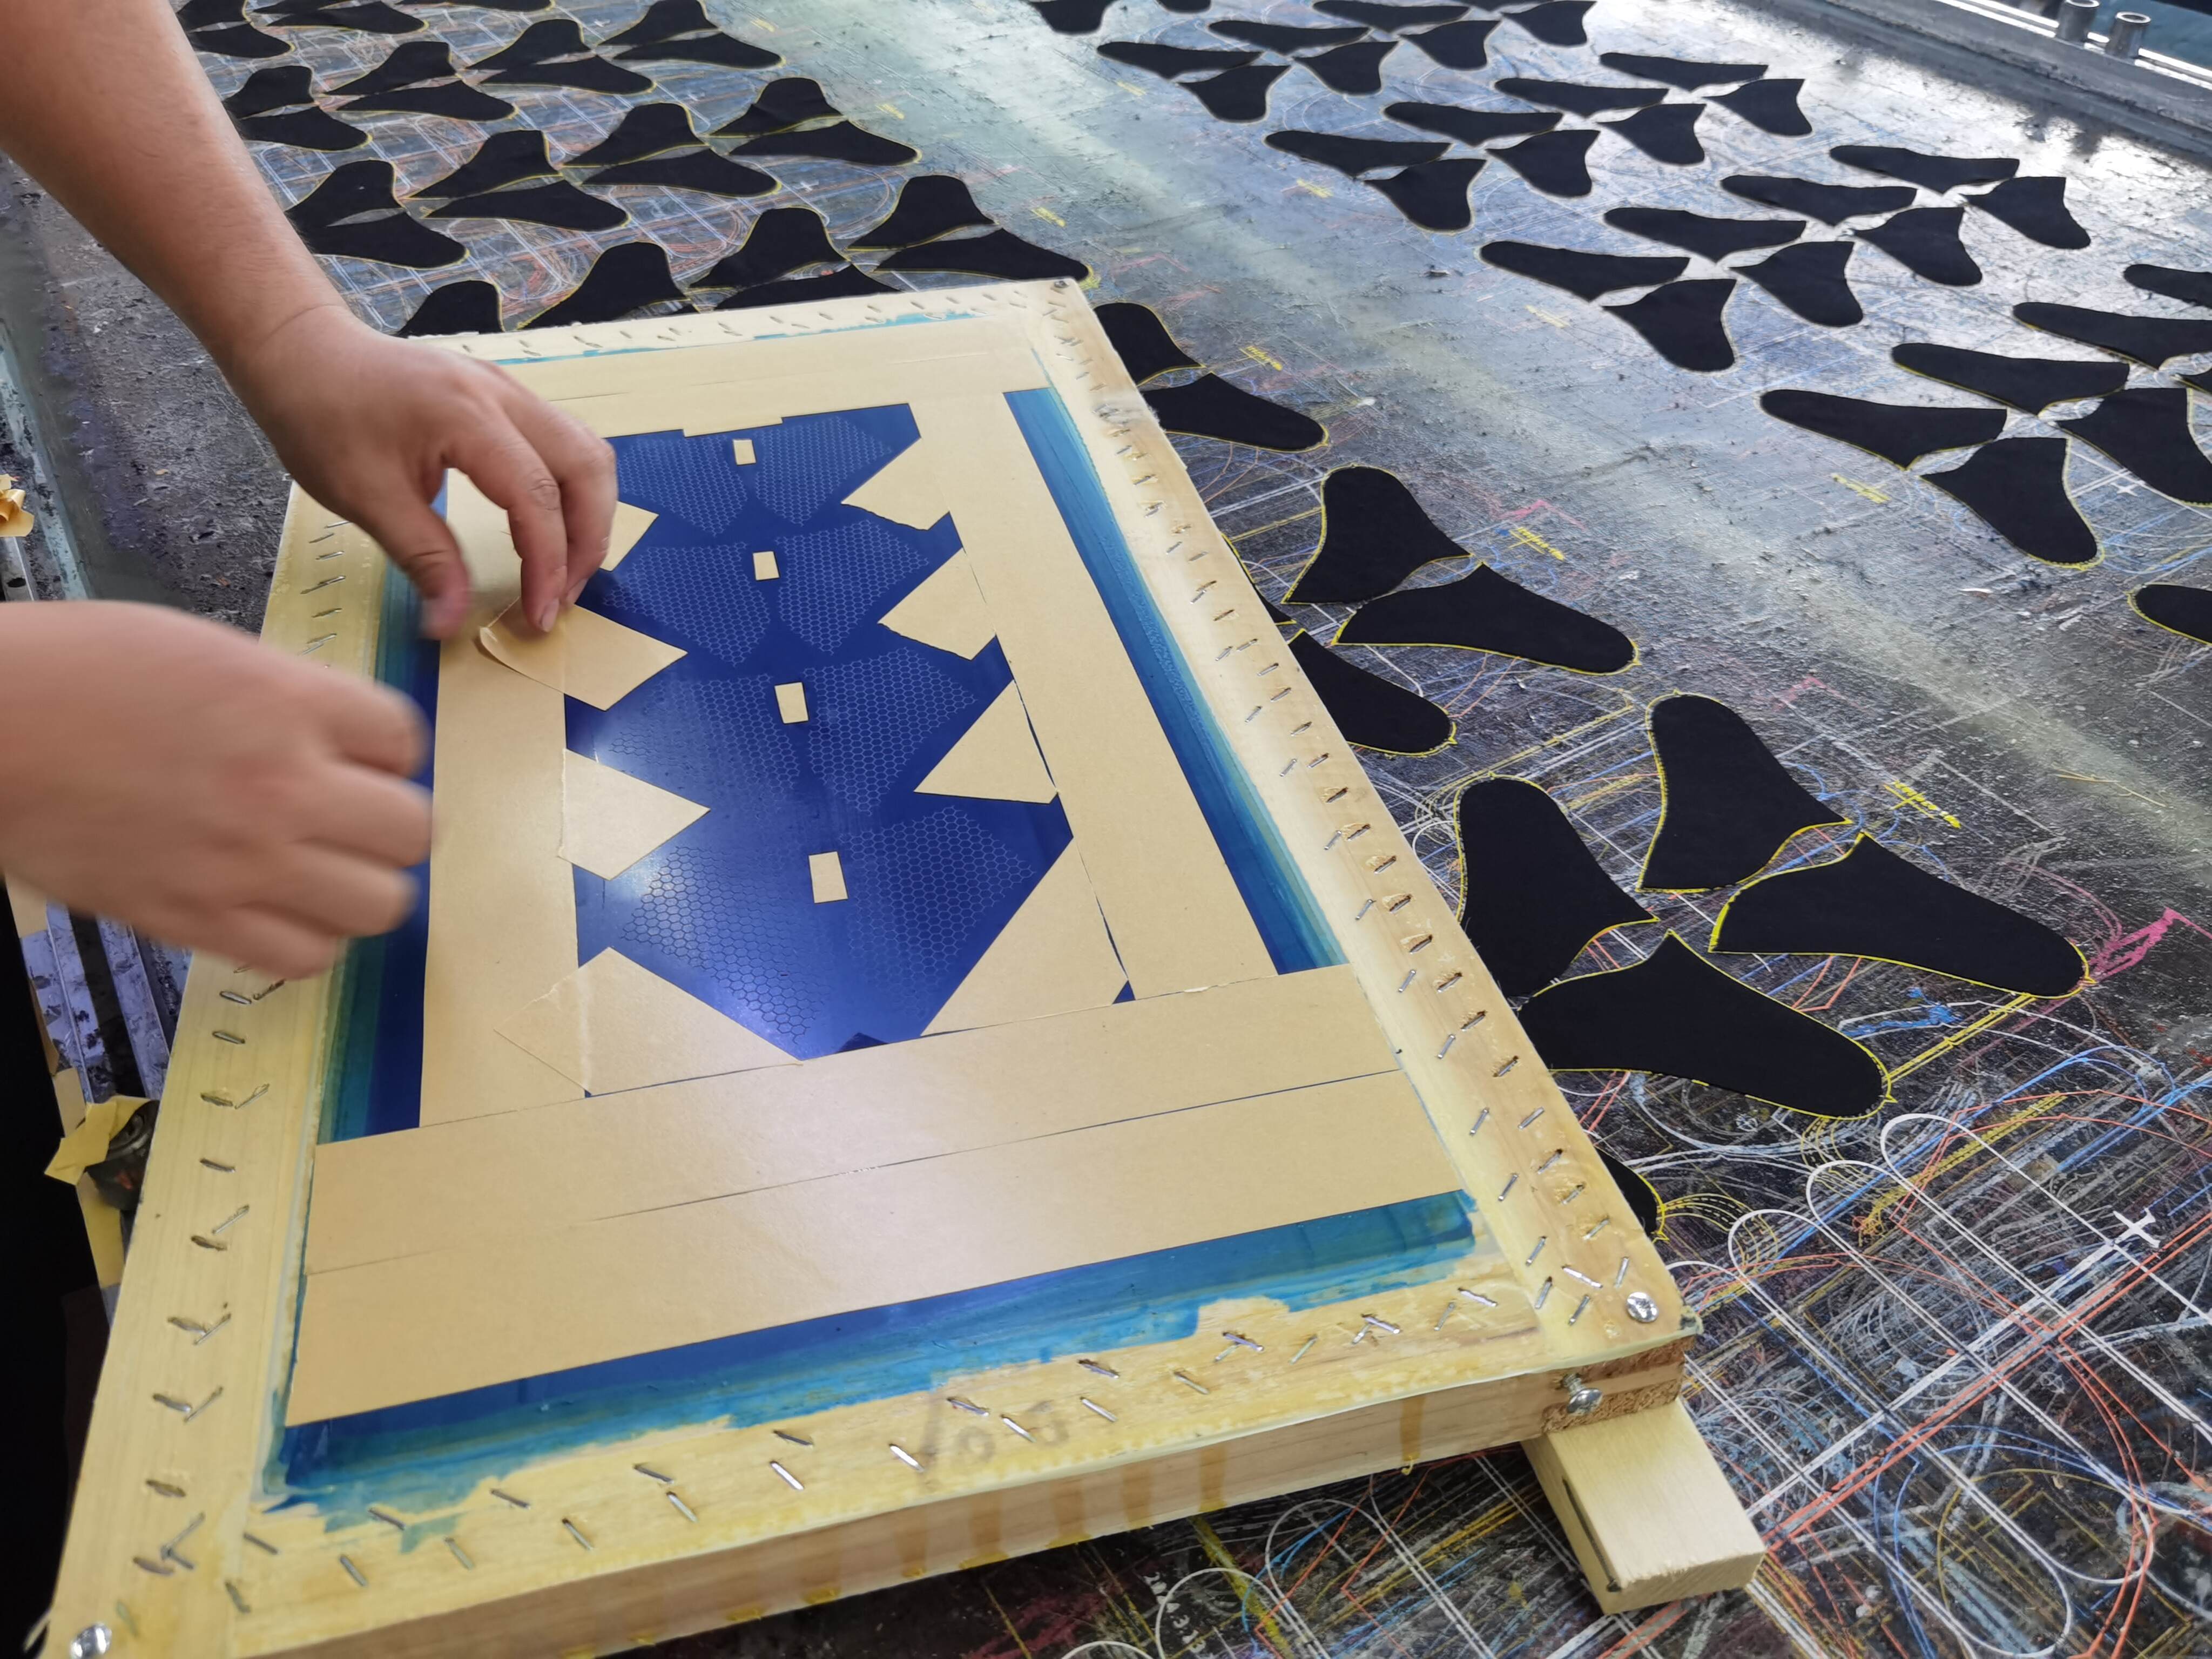
Exposing the Screen
Once the emulsion is dry, place your design (usually on a transparent film) onto the coated screen. Use an exposure unit to shine UV light through the film and onto the screen. The light will harden the emulsion, while the areas covered by the design remain soft and soluble.
Developing the Screen
After exposure, rinse the screen with water. The soft emulsion in the design areas will wash away, leaving open mesh where the ink will pass through. This creates the stencil that will transfer your design onto the substrate.
3. Printing
With the screen prepared, it's time to move on to the actual printing process.
Screen Installation
Attach the prepared screen to the printing press or manual frame. Ensure it is properly aligned and securely fastened.

Ink Preparation
Mix the ink to the desired consistency and color. Adjust the viscosity and drying time as needed for your specific project.
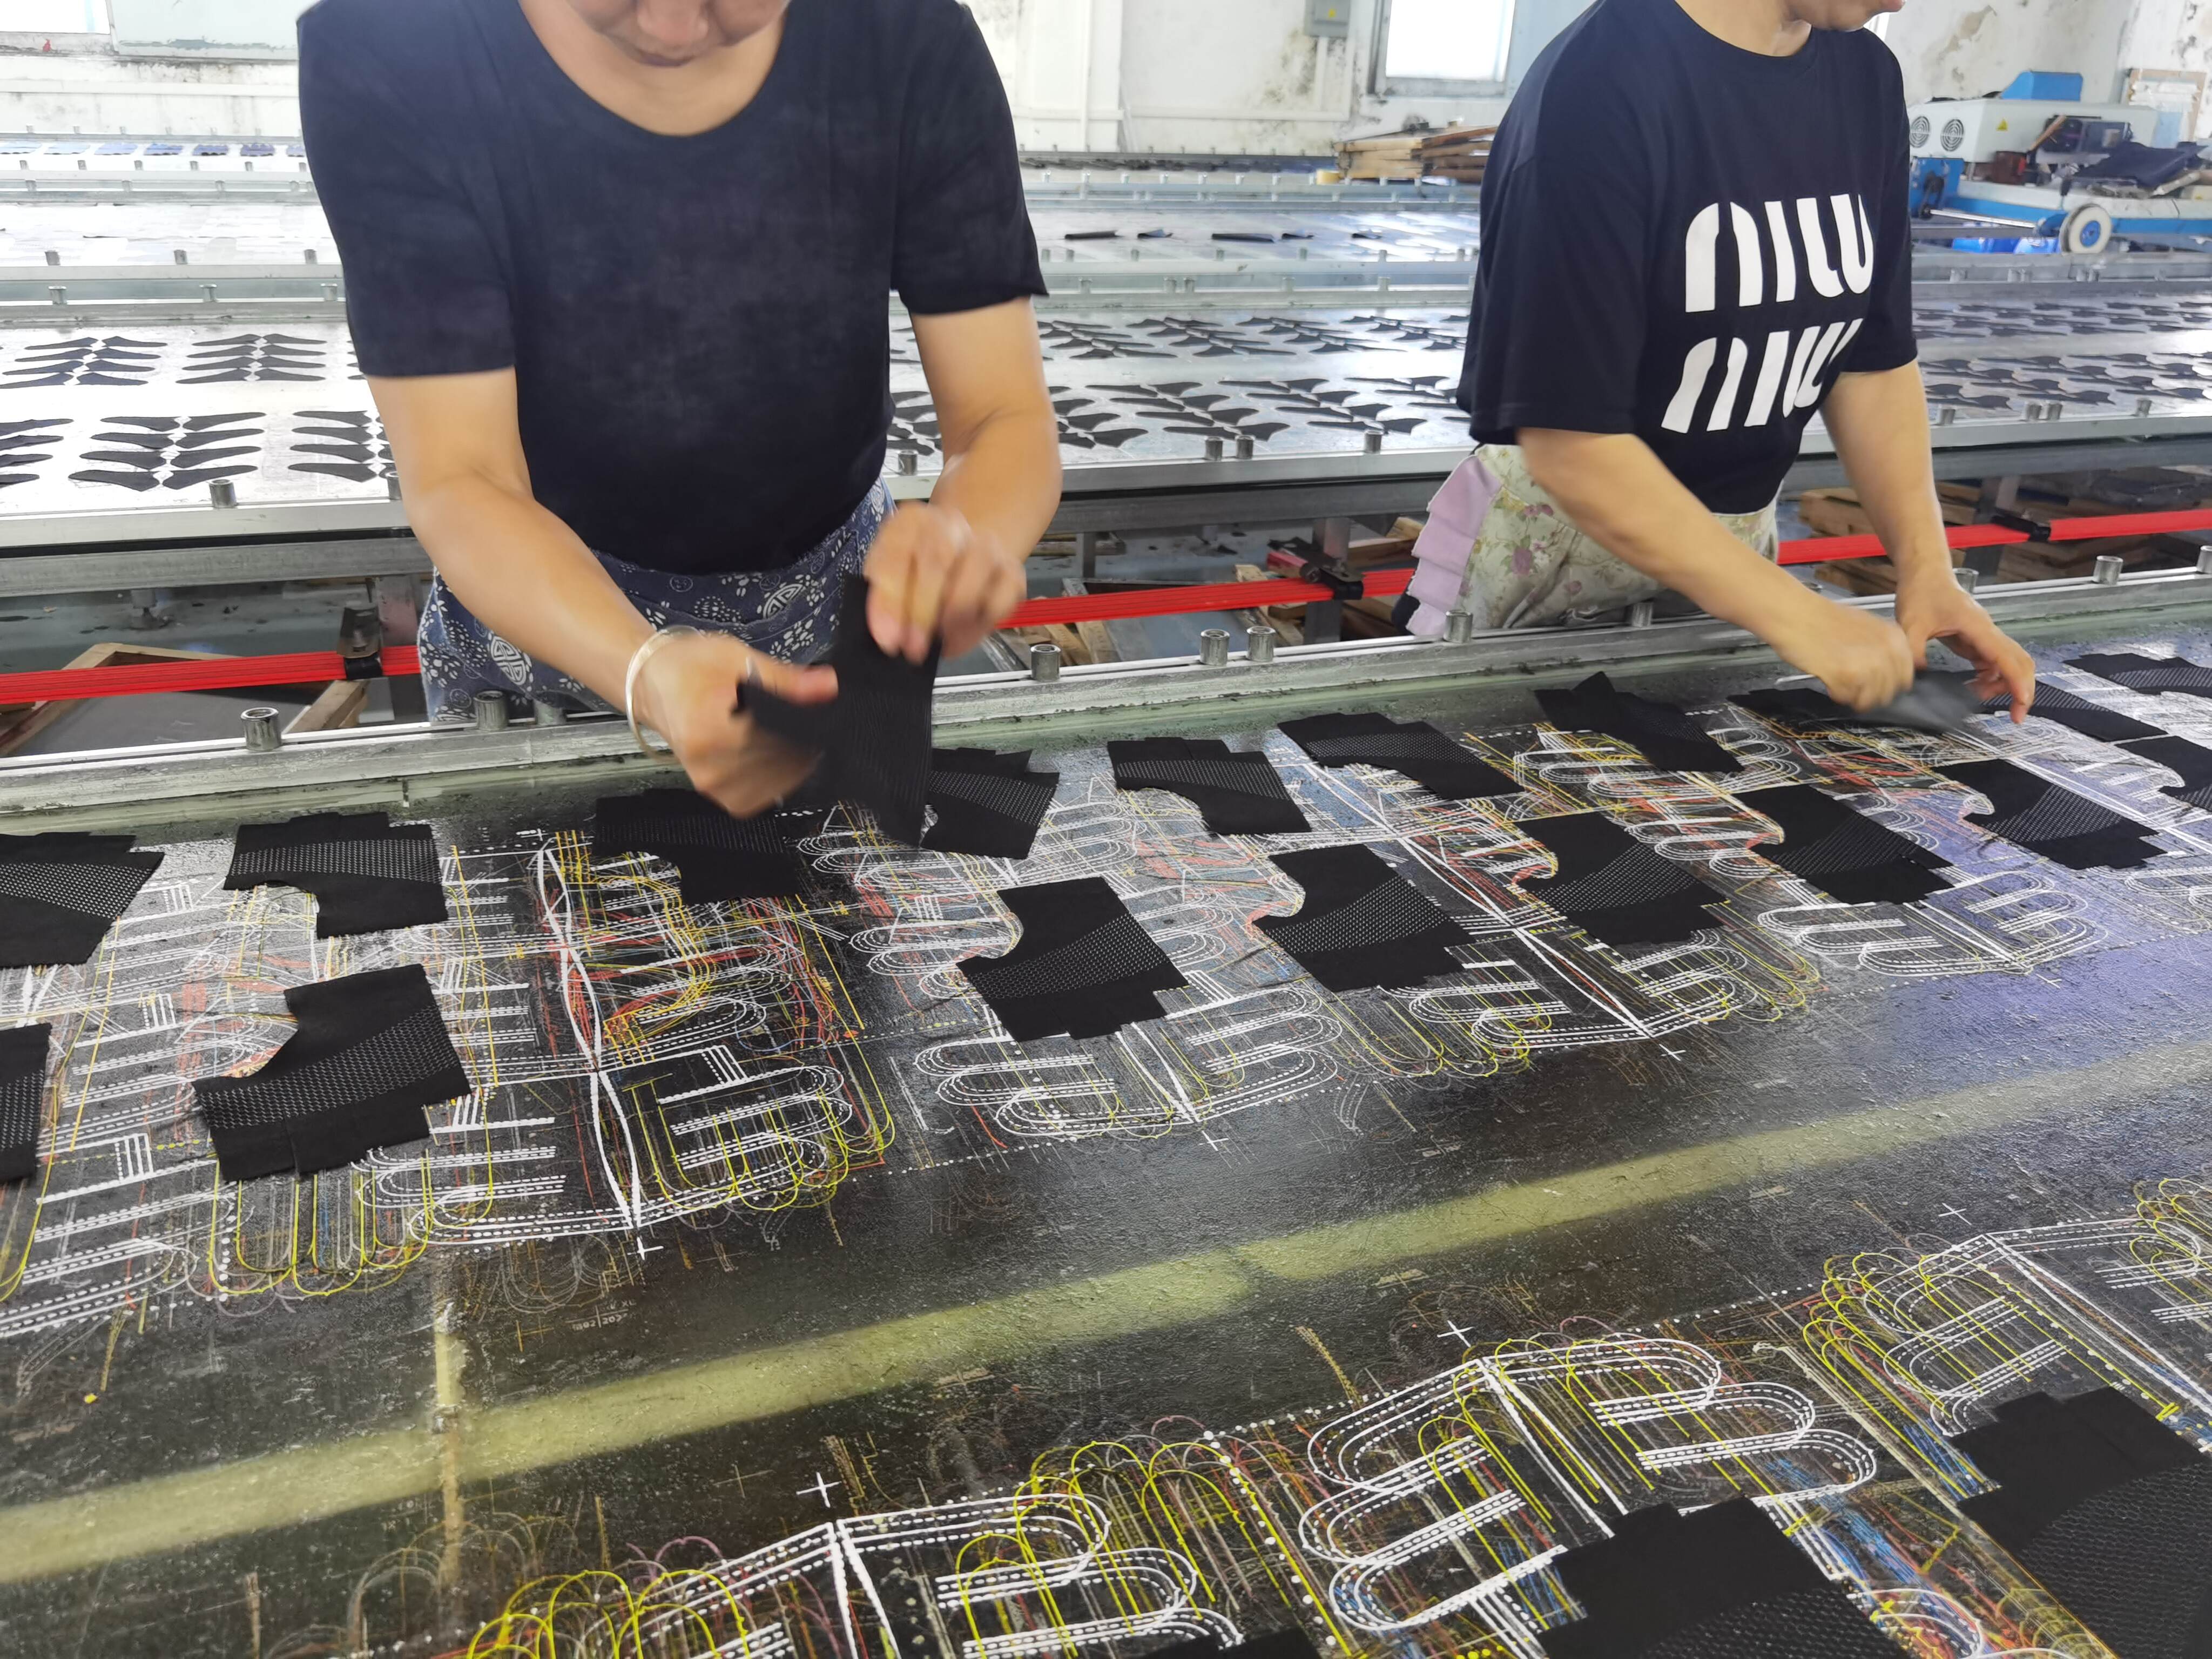
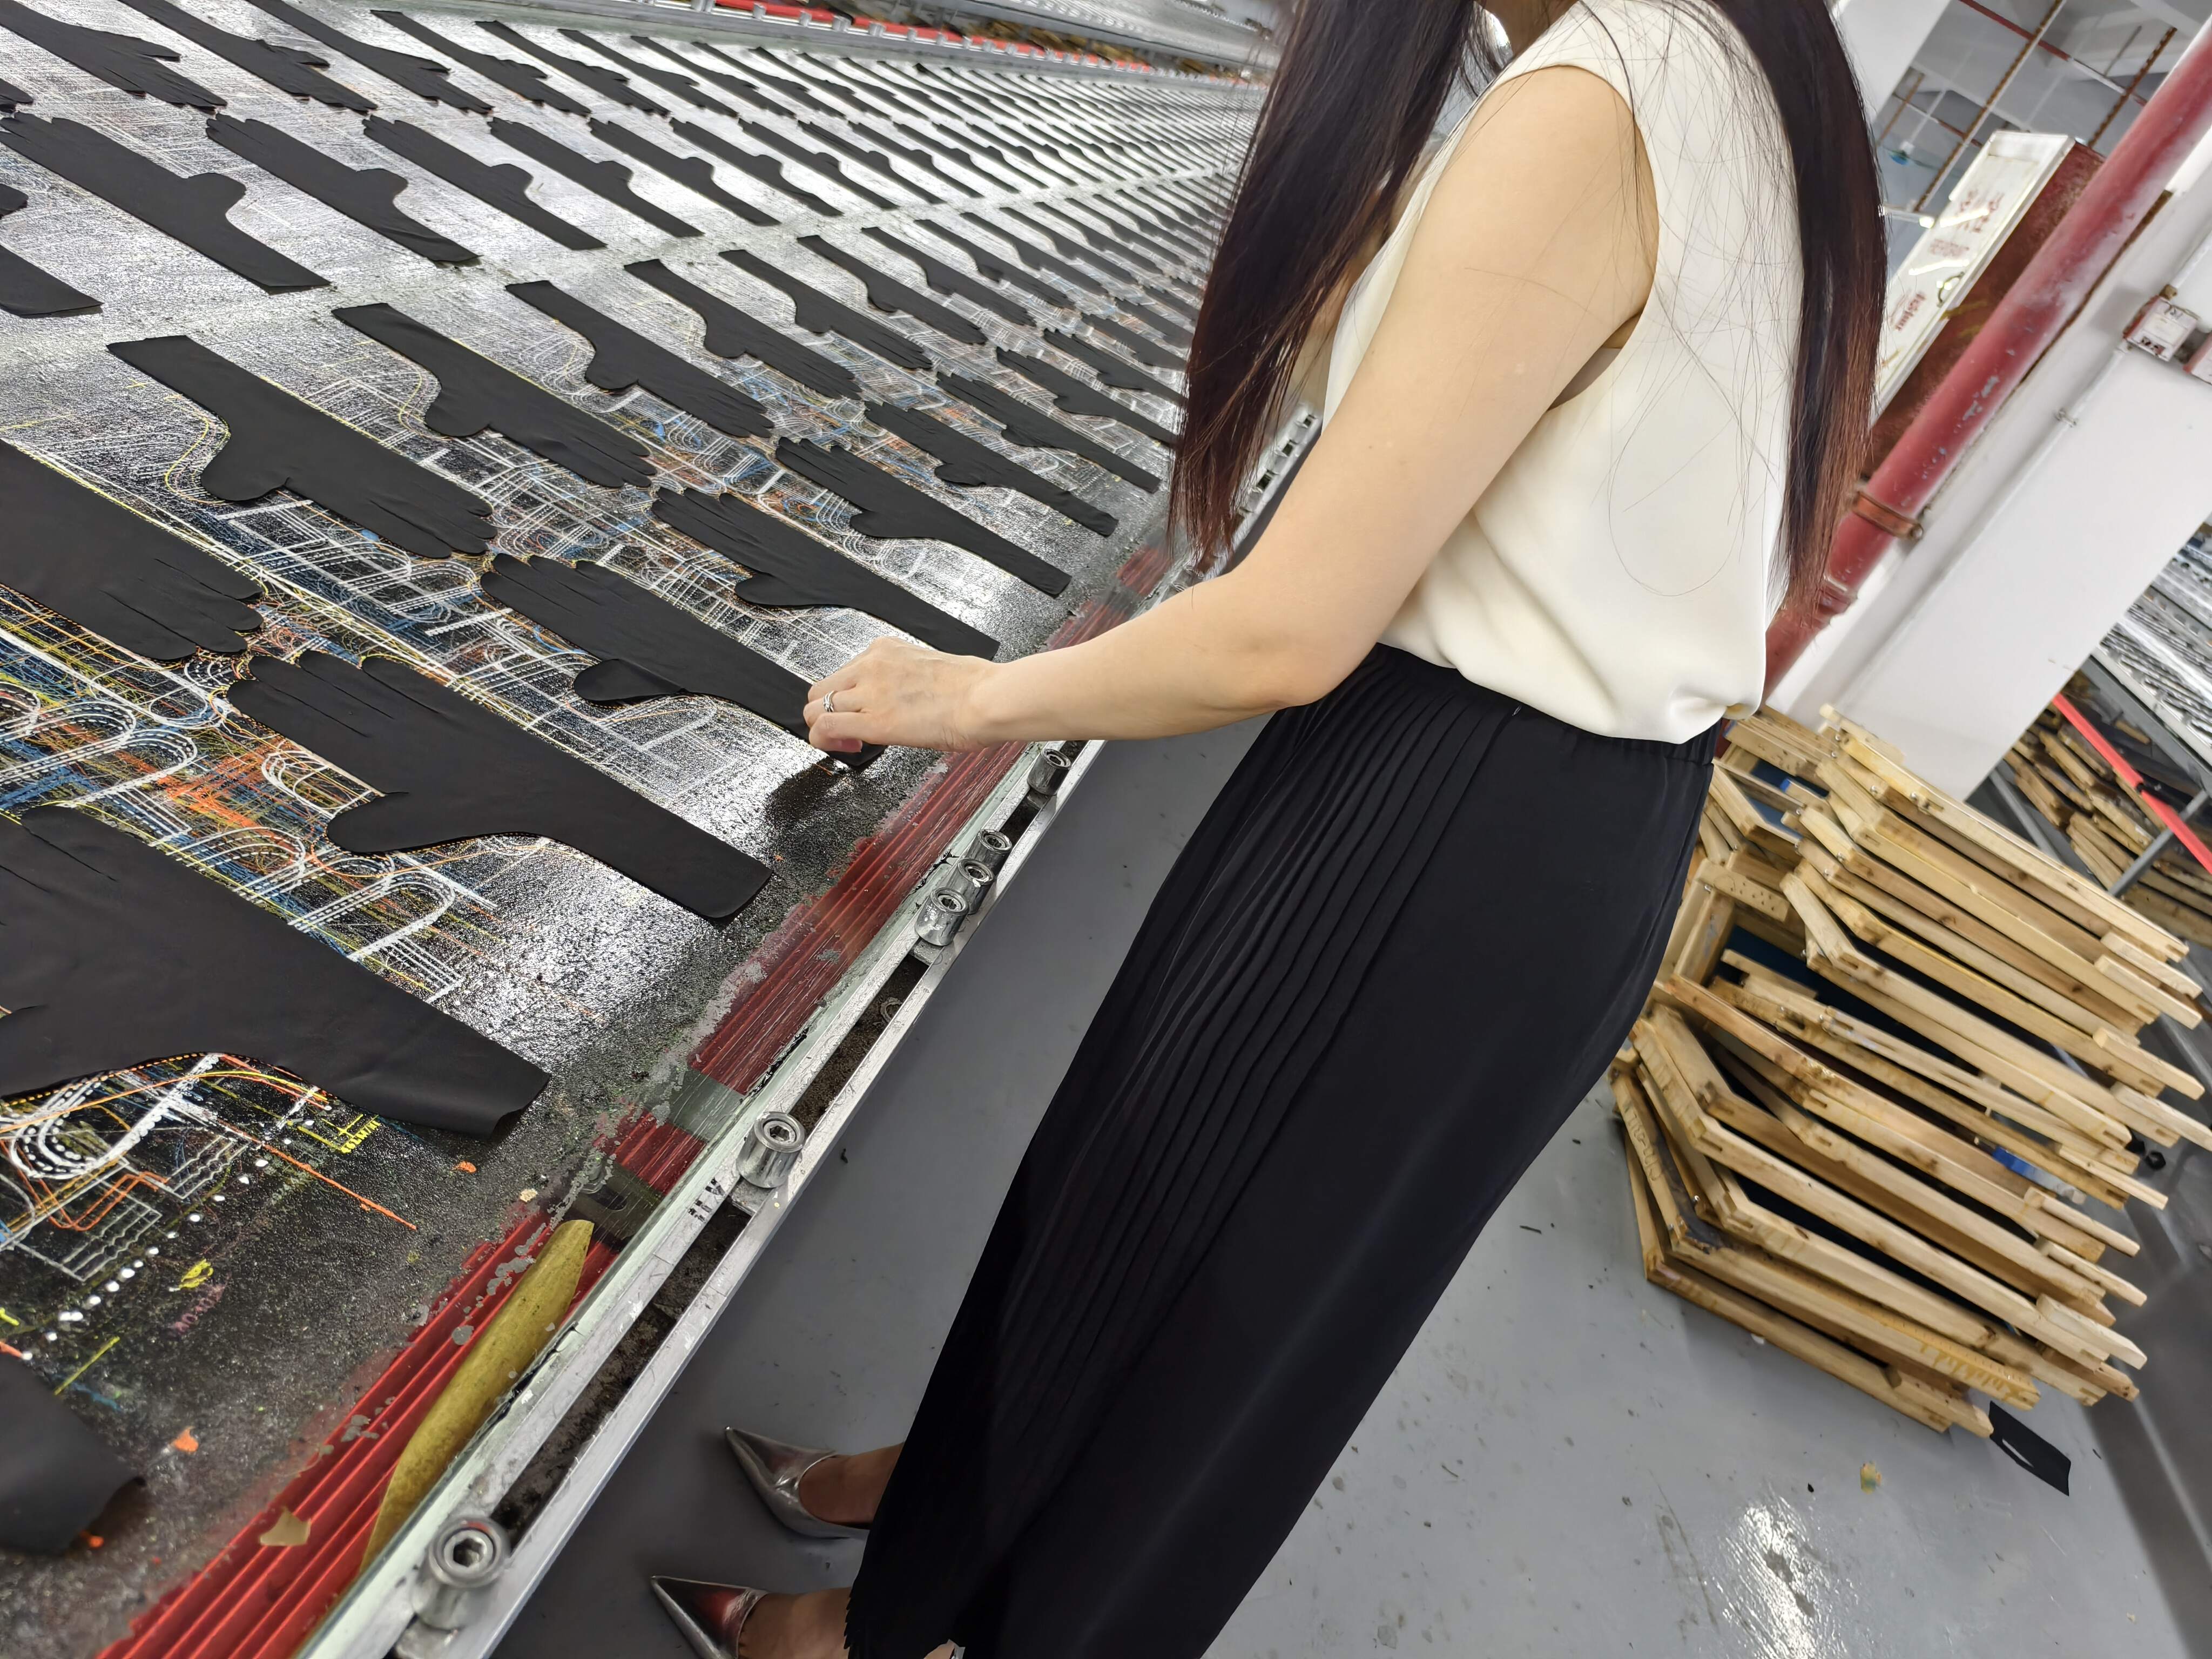
Printing Process
- Manual Printing: Place the substrate on the printing bed. Pour a small amount of ink onto the screen and use the squeegee to pull the ink across the screen, forcing it through the mesh and onto the substrate. Repeat for each print.
- Machine Printing: For larger production runs, use an automated screen printing machine. These machines can handle multiple screens and colors, significantly speeding up the process.

4. Post-Production
The final steps ensure that your prints are properly finished and ready for use.
Drying
Allow the printed items to dry. Depending on the ink type, this could involve air drying, heat curing, or UV curing. Proper drying ensures the ink adheres well to the substrate.

Quality Control
Inspect the finished products for any defects such as smudging, misalignment, or incomplete prints. Address any issues by reprinting or manually touching up the design.
Packaging and Storage
Once the prints are dry and inspected, package them carefully to prevent damage. Store them in a clean, dry environment until they're ready to be used or shipped.
Screen printing is a fascinating and rewarding process that combines art and technology. By following these steps, you can achieve high-quality prints for a variety of applications. Whether you're creating custom t-shirts, promotional materials, or industrial components, mastering the art of screen printing opens up a world of creative possibilities. Happy printing!
_
Email cannot be empty
Password cannot be empty
Email format error
Email cannot be empty
Email already exists
6-20 characters(letters plus numbers only)
The password is inconsistent
Email format error
Email cannot be empty
Email does not exist
6-20 characters(letters plus numbers only)
The password is inconsistent